
Tips for Installing Carbon Film Like a Pro | Carlas
Carbon fiber vinyl wrap is one of the most popular choices for car customization. Whether it’s used on the hood, mirrors, roof, or even across the entire vehicle, it adds a sporty, high-performance aesthetic that’s hard to beat. However, applying carbon film isn’t always as straightforward as other finishes like gloss or matte wraps—it comes with its own set of quirks and challenges.
To help you get the best results, here are some important facts and pro installation tips you should know before wrapping with carbon film.
🔍 Understand the Nature of Carbon Film
Before applying any vinyl, it’s crucial to understand the film’s characteristics—and this is especially true for carbon fiber wraps. Carbon film isn’t just about looks; it behaves differently during application due to its texture, structure, and surface finish.
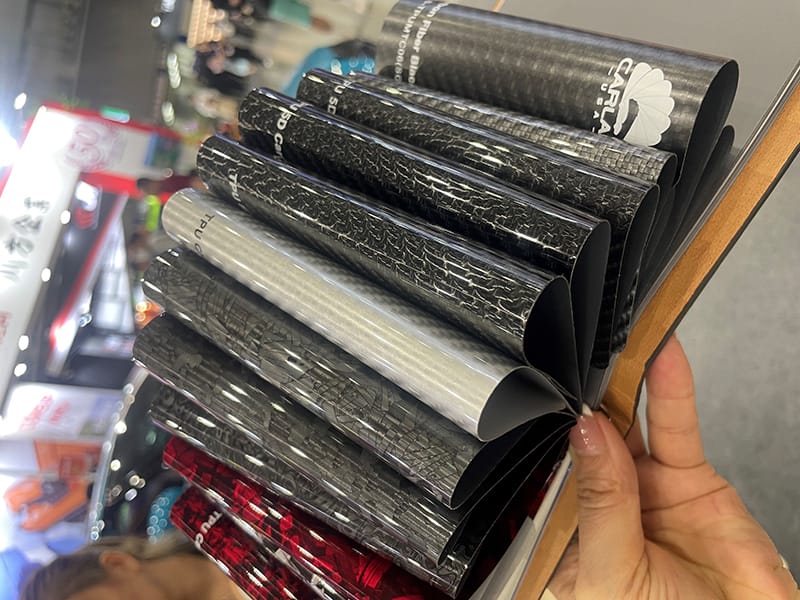
🎯 1. Carbon Film is Directional – Pattern Alignment is Key
Unlike solid-color wraps, carbon fiber vinyl has a directional pattern that needs to be lined up carefully across different panels.
Think of it like a puzzle—if you’re wrapping the bumper first, ensure that the weave direction matches the adjacent fender or hood.
Pro Tip:
Always check and pre-align each section of the wrap before cutting or applying to ensure visual continuity. Misaligned weave patterns can make even a great installation look amateur.
🛡️ 2. No Protective Laminate – Handle with Care
Most gloss and matte wraps are manufactured with a built-in protective lamination that offers scratch resistance and even self-healing properties when exposed to heat.
Carbon fiber wrap, however, lacks that extra laminate layer, making it more prone to scratches during installation.
Pro Tip:
Always use a soft felt-edge squeegee—especially around curves, edges, and tight corners. A hard plastic squeegee can leave visible marks or even damage the surface.
📏 3. It’s Textured and Multi-Layered – Watch Out for Tearing
Carbon film is typically thicker than regular wraps and features a multi-layered texture that adds depth and realism to the weave. But that also means it’s more delicate when stretched, particularly in cold environments.
Pro Tip:
- Always work in a warm, controlled environment.
- Be gentle when lifting or repositioning the film to avoid accidental tearing.
- Avoid over-stretching—carbon vinyl has less flexibility than standard wraps.
🧽 4. Keep It Flat – Reduce Squeegee Marks
Because of its thickness and texture, carbon film can retain squeegee marks if not applied properly.
Pro Tip:
- Maintain a low angle between your squeegee and the surface.
- Keep the vinyl as flat and tension-free as possible during application.
- In recessed areas or deep curves, apply heat gradually and work slowly to avoid creases or lifting.
⚠️ 5. Corners & Curves Are the Real Test
Corners, edges, and recessed curves are the most challenging parts when installing carbon wrap. One wrong stretch or incorrect pressure, and you might have to redo the entire section—or worse, scrap the wrap altogether.
Pro Tip:
- Pre-stretch in tricky areas before final placement.
- Use proper tucking techniques with soft tools.
- Post-heat all edges to lock in the adhesive and prevent future lifting.
✅ Conclusion: A Stunning Finish with the Right Techniques
Carbon fiber vinyl wraps are undeniably eye-catching—but they require extra attention and precision to apply correctly. If handled with care and installed using the right tools and techniques, carbon wraps can dramatically elevate your vehicle’s look while preserving its original paint.
So whether you’re wrapping accents or going all-in with a full-body carbon finish, always take your time, prep properly, and treat the material with respect.
Ready to try it for yourself?
Explore premium carbon film options and professional installation tips today at Carlas—your destination for high-quality automotive wraps.