
Discover essential car wrap installation tips to avoid bubbles, peeling, and poor adhesion. Learn how to prepare, apply, and maintain wraps like a pro with CARLAS premium films.
Car Wrap Installation Tips: How to Avoid Costly Failures
A car wrap can completely transform your vehicle’s appearance while protecting its paint. However, poor installation can result in bubbles, wrinkles, peeling edges, and even damage to the original paintwork. In this guide, we’ll share expert tips to help you install a car wrap correctly and avoid costly mistakes—whether you’re a professional installer or a DIY enthusiast.
Why Installation Details Make All the Difference
Car wrapping is far more than simply sticking a film onto a vehicle’s surface. It requires precise measurement, material knowledge, environmental control, and skillful application. Many failures occur because small but critical details—like surface preparation, temperature control, or film stretching—are overlooked.
Preparation Before Installation
Thoroughly Clean the Vehicle
- Remove all dust, dirt, wax, and grease.
- Pay attention to hidden areas like door edges, mirror bases, and bumper corners.
Ensure an Optimal Installation Environment
- Ideal indoor temperature: 68–82°F (20–28°C), humidity between 40–60%.
- Minimize dust, ensure proper lighting, and work in a controlled indoor space.
Inspect the Film Quality
- Check for scratches, bubbles, or adhesive defects before application.
- Premium films like CARLAS TPU Color PPF feature a protective layer and smooth surface for flawless results.
Key Application Techniques
Alignment and Positioning
- Pre-cut film based on vehicle dimensions.
- Align and fix before peeling the backing to avoid crooked edges.
Stretching and Heating
- TPU films allow higher stretch ratios but require even heating to prevent distortion.
- PVC films are less elastic, so avoid overstretching to prevent cracks.
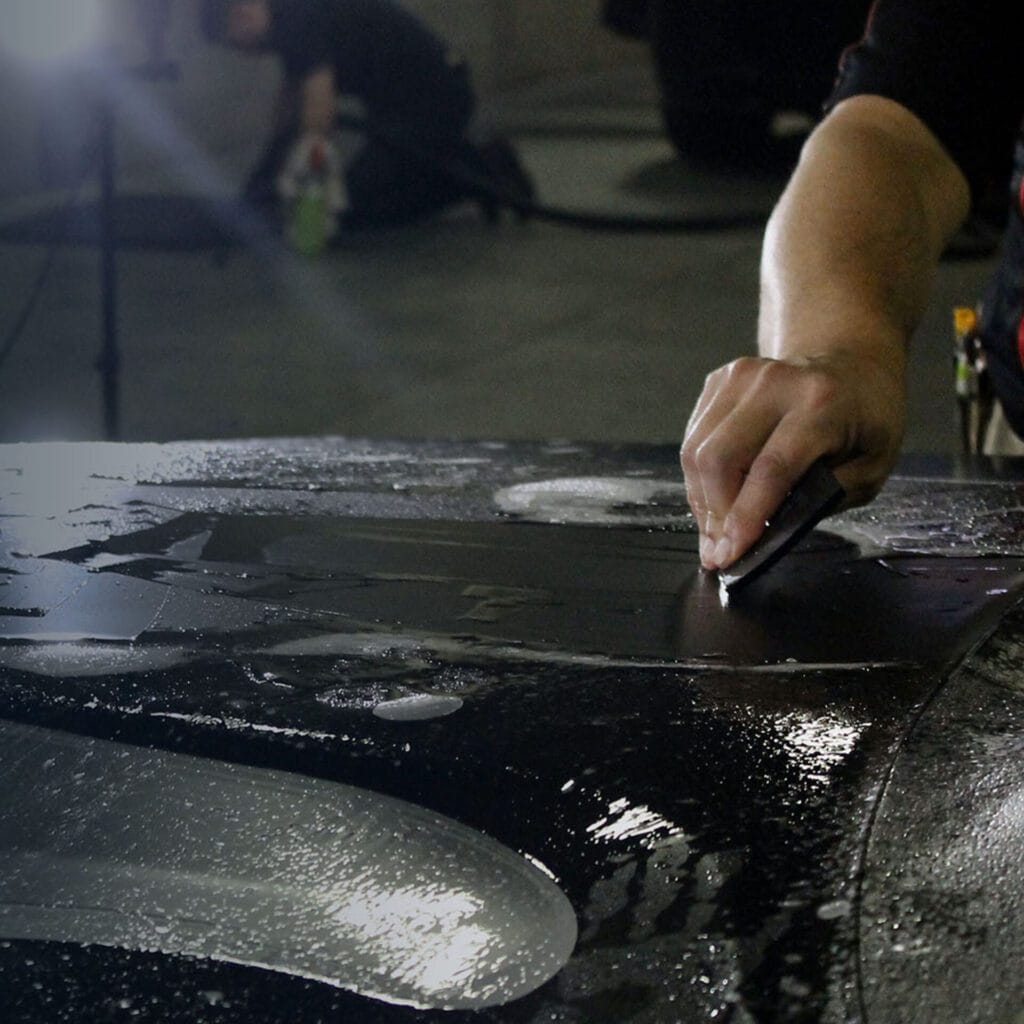
Bubble and Wrinkle Removal
- Use a professional squeegee to push air out from the center toward the edges.
- Small bubbles can be punctured with a fine needle and smoothed out.
Post-Installation Inspection and Care
Surface Inspection
- Check seams, edges, and corners for tight adhesion.
- Ensure there are no lifting or peeling spots.
Curing Period Care
- Avoid washing the car or exposing it to extreme sunlight for the first 48 hours.
- Allow the adhesive to fully bond with the paint.
Regular Maintenance
- Clean with mild, pH-neutral car shampoo.
- Apply wax or ceramic coating to extend the film’s lifespan.
Common Installation Failures and Causes
Peeling or Lifting Edges
- Poor adhesive quality or installation in low temperatures.
- Insufficient surface cleaning.
Color Variation and Film Damage
- Mixing different film batches can cause shade differences.
- Overstretching can alter the film’s color or damage its structure.
Professional Installation vs. DIY
- DIY: Lower cost, but higher risk of visible defects.
- Professional: Access to specialized tools, training, and experience ensures better durability and finish.
Why Choosing a Premium Brand Matters
Advantages of High-Quality Films
- Greater durability, UV resistance, and scratch protection.
- CARLAS TPU films feature self-healing technology—minor scratches disappear with heat.
Brand Support and Warranty
- Professional installation training for consistent quality nationwide.
- After-sales service to minimize rework and customer complaints.
Final Thoughts
Installing a car wrap is a precise process that demands attention to detail in preparation, application, and maintenance. Choosing a high-quality film like CARLAS TPU Color PPF and working with experienced installers can significantly reduce the risk of failure—keeping your car stylish and well-protected for years to come.