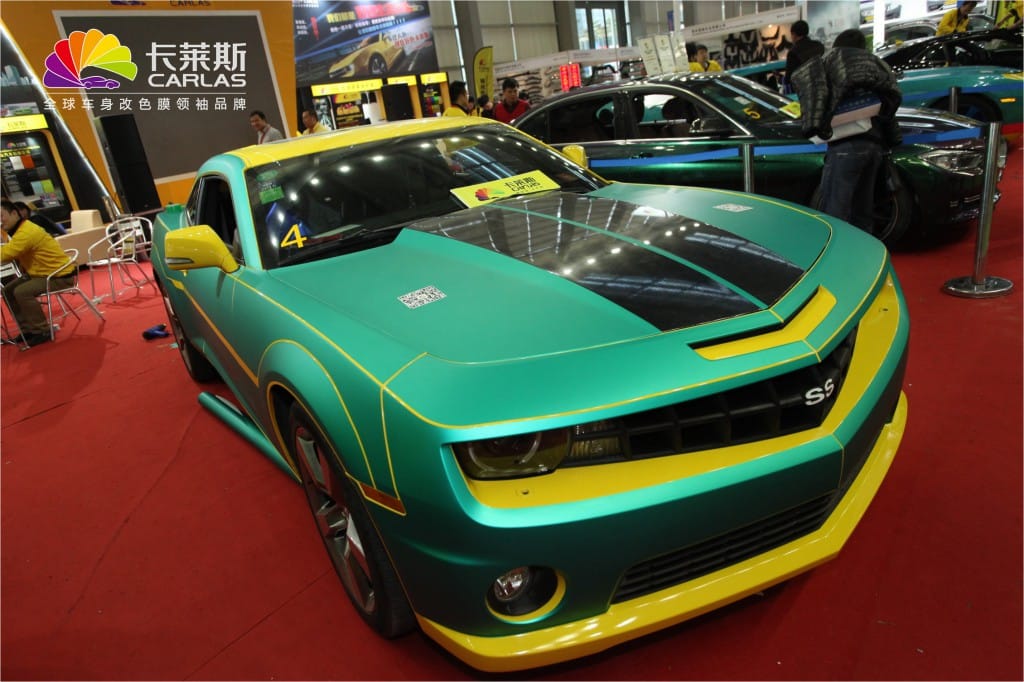
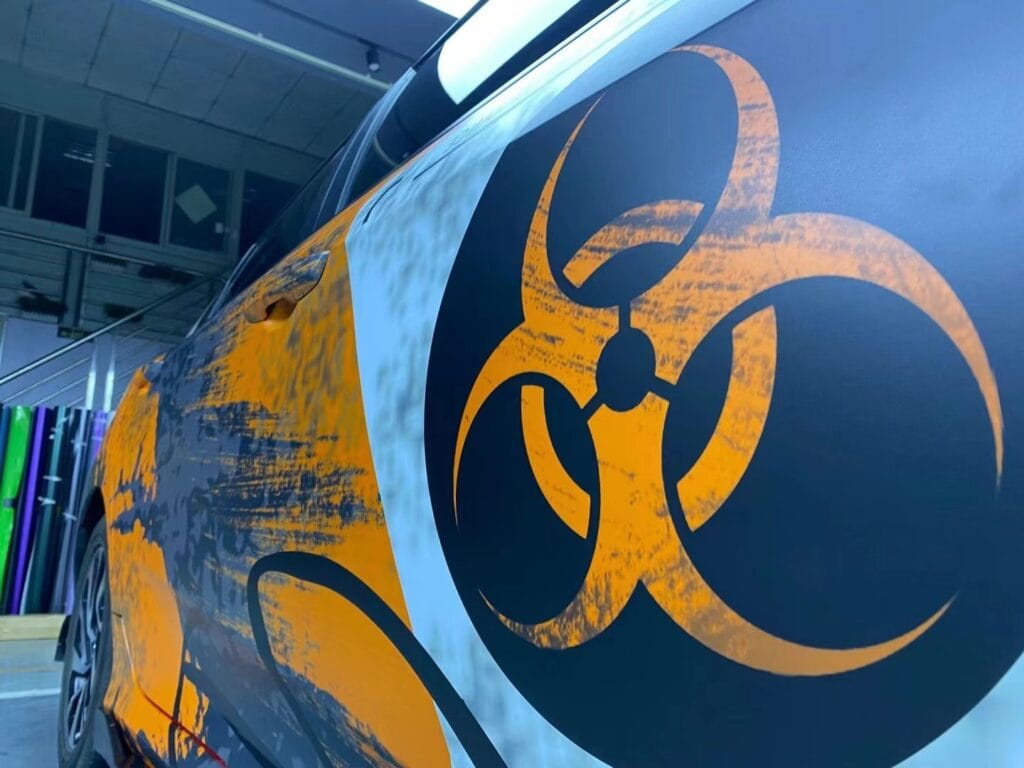
Car wrapping has become one of the most sought-after vehicle customization services, offering a stunning visual transformation while also protecting the original paint. Whether you’re a DIY enthusiast or a professional vinyl installer, accurately estimating the required amount of wrap film is essential for achieving a seamless, cost-effective wrap.

This step-by-step guide will walk you through everything you need to know—from measuring and calculating to accounting for material loss—so you can confidently determine the correct amount of car wrap vinyl for any vehicle.
🎯 Step 1: Know Your Vinyl Types and Roll Specifications
Before calculating how much film you’ll need, it’s important to understand the characteristics of the two main types of vinyl wrap films:
✅ Cast Vinyl
- Premium-grade material made for complex curves and full-body wraps
- Offers excellent conformability and long-term durability
- Ideal for high-end color change wraps and commercial installations
✅ Calendared Vinyl
- More affordable but thicker and less conformable
- Suitable for flat surfaces or short-term applications
- Requires more skill and experience to install on contoured areas
📐 Common Roll Sizes
- 60 inches wide (1520mm) – standard for full vehicle wraps
- 52 inches wide (1320mm) – used for smaller vehicles or design accents
- Roll lengths are typically 25ft, 50ft, or 75ft, depending on the supplier
📏 Step 2: Measure Your Vehicle Accurately
Accurate vehicle dimensions are the foundation of your vinyl calculation. Always measure in inches or centimeters for consistency and precision.
Essential Dimensions:
- Vehicle Length – from front bumper to rear bumper
- Vehicle Width – widest point (usually at the doors or mirrors)
- Vehicle Height – from ground to top (include roof racks/spoilers)
- Wheelbase – distance between front and rear axle centers
- Wheel Diameter – for custom rim wraps or logo placements
💡 Pro Tip: Document all dimensions and create a rough vehicle layout to map out individual panels.
🔍 Step 3: Break Down the Vehicle into Panels
Segmenting the vehicle into major sections helps ensure you don’t overlook complex or irregular surfaces.
Standard Vehicle Sections:

- Hood
- Roof
- Front and rear bumpers
- Fenders and quarter panels
- Front and rear doors
- Trunk or tailgate
- Side mirrors and door handles (optional)
Calculate Panel Surface Area:
Use the formula:
Length × Height (or Width) = Area (in square feet or meters)
Once all areas are calculated, add them up to get the total exterior surface area to be wrapped.
♻️ Step 4: Add Overlap and Waste Allowances
To ensure clean installation, extra material is always needed for overlaps, repositioning, and trimming around curves and contours.
General Allowances:
- Panel Overlap: Add 2–3 inches (5–8 cm) per edge
- Material Waste:
- Simple wraps (flat panels, box trucks): add 10–15%
- Standard full wraps (sedans, coupes): add 20–30%
- Complex wraps (SUVs, curved sports cars): add 30–40%
🧮 Example: If your vehicle surface area is 300 sq. ft., and you allow 30% for waste/overlap, your total required coverage = 300 × 1.3 = 390 sq. ft.
📐 Step 5: Calculate Total Vinyl Needed
Once you have the final square footage, you can calculate how much vinyl roll length you’ll need based on roll width:
Formula:
Total vinyl length (in feet) = Total area (sq. ft.) ÷ Roll width (in feet)
If using a 60-inch (5 ft) wide roll:
390 ÷ 5 = 78 feet of vinyl
Always round up to the nearest 5 or 10 feet to allow for extra cuts and handling.
🛠️ Helpful Tools and Templates
Consider using these aids to enhance accuracy and efficiency:
🔧 Vehicle Templates
- Download scale templates for common vehicle models from wrap software providers or film manufacturers
- Useful for visualizing panel shapes and wrap placement
💡 Tips to Maximize Efficiency & Minimize Waste
- Plan Your Layout: Lay out panels on the vinyl roll to minimize cuts and avoid unused sections
- Label and Pre-Cut Panels: For large projects, cutting panels in advance saves time during installation
- Use Scraps for Details: Small offcuts are perfect for mirrors, spoilers, badges, or testing
- Invest in Pre-Spaced Graphics: For commercial wraps, using pre-aligned decals reduces waste and install time
👨🔧 Professional Installation = Professional Results
While DIY wraps are becoming more popular, full vehicle wraps—especially color change wraps or those involving intricate curves—are best handled by a certified installer. Pros bring:
- Precision-cutting tools
- Heat guns and IR lamps
- Experience with edge sealing, stretch management, and post-heating
A high-quality installation not only improves the look but extends the lifespan of the wrap.
✅ Conclusion: Wrap Smarter, Not Harder
Estimating vinyl wrap requirements doesn’t have to be complicated. By measuring your vehicle carefully, accounting for waste and overlaps, and selecting the right vinyl type and width, you’ll ensure a smooth, professional-grade wrap with minimal material waste.

